
If you have Windows 10 and miss sometimes to have a linux distro locally, you can install the Windows Subsystem for Linux.
First start a CMD shell (start-run, type: CMD)
Then:
powershell
Then you type:
Enable-WindowsOptionalFeature -Online -FeatureName Microsoft-Windows-Subsystem-Linux
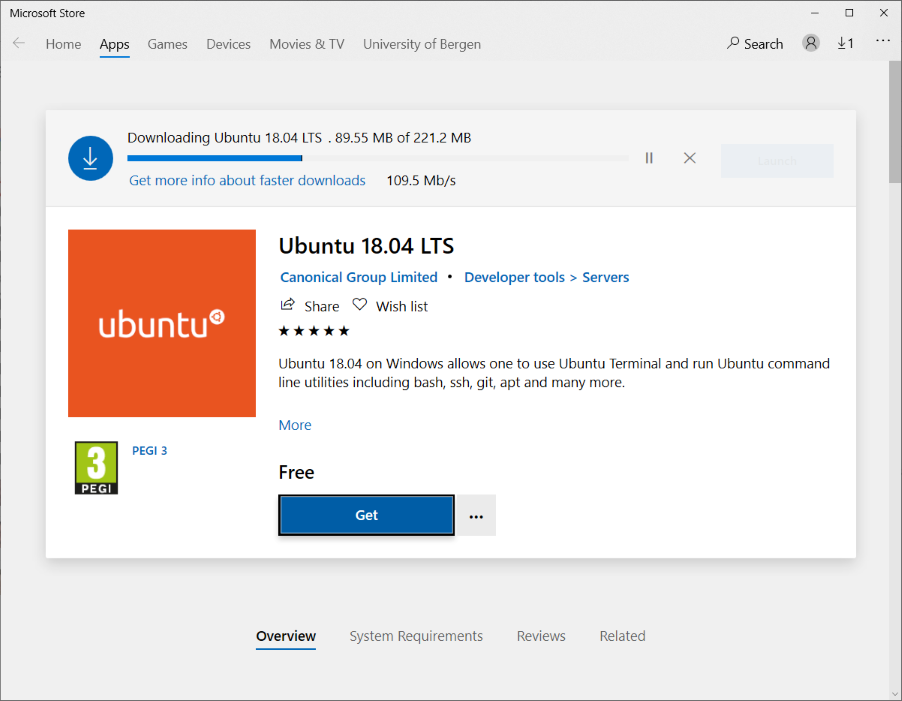
Restart the computer. Then go to Microsoft Store and choose your option. I chose Ubuntu 18.04 LTS from here:
* https://www.microsoft.com/nb-no/p/ubuntu-1804-lts/9n9tngvndl3q?rtc=1&activetab=pivot:overviewtab
From the MS store window, click on the GET button. Sign in if necessary. Yes, you need a MS account…
I tried to use our organization account, but then I got this message:
That Microsoft account doesn't exist. Enter a different account or get a new one.
🙂
so I ended up with my private account..
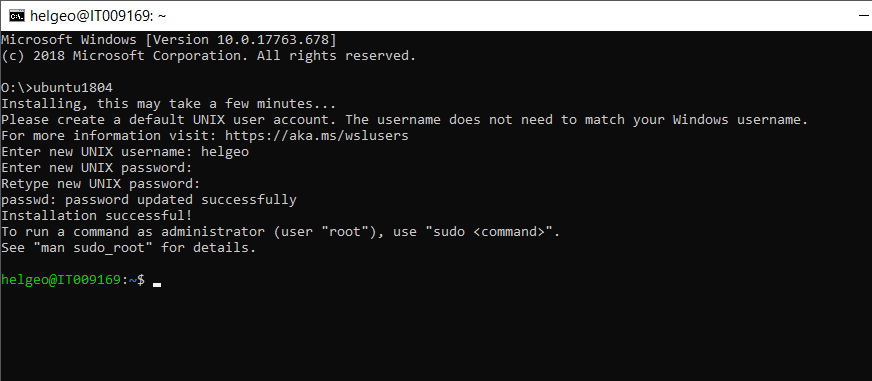
Then finally in the CMD window:
ubuntu1804
and choose a username and password.
Next is to update your Ubuntu distro:
sudo apt-get update && sudo apt-get upgrade -y && sudo apt-get upgrade -y && sudo apt-get dist-upgrade -y && sudo apt-get autoremove -y
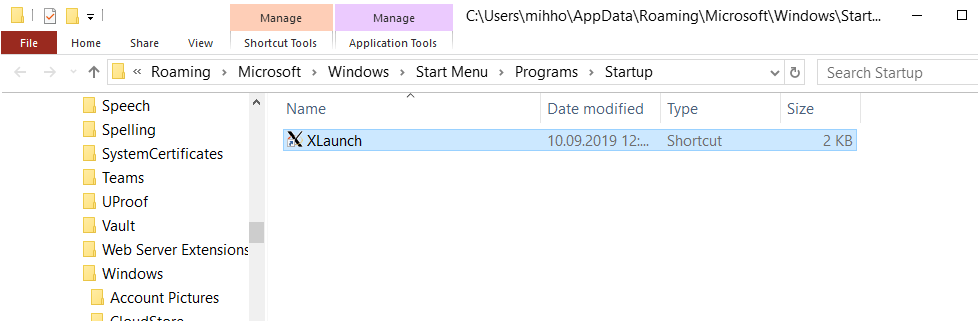
Then install the X server for Windows from: https://sourceforge.net/projects/vcxsrv/
Copy the shortcut (should be on the Desktop somewhere) to here:
%appdata%\Microsoft\Windows\Start Menu\Programs\Startup
In the Ubuntu bash terminal:
echo "export DISPLAY=localhost:0.0" >> ~/.bashrc; . ~/.bashrc
Then:
sudo apt-get install x11-apps
And finally run your favorite X program:
sudo apt-get install git-cola
git-cola